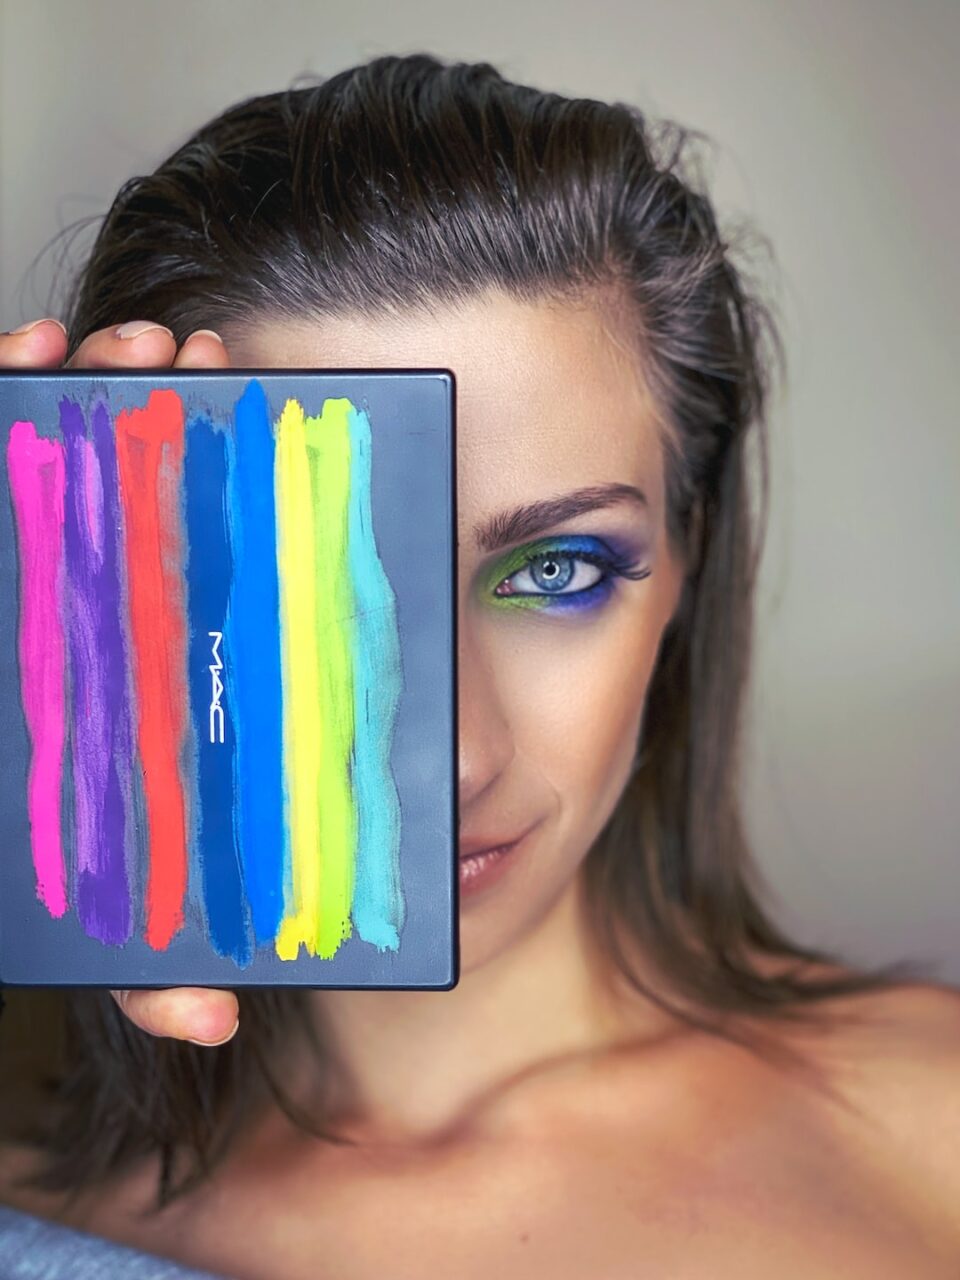
Are you tired of admiring flawless makeup looks on social media, wondering how on earth people achieve those perfectly chiseled cheekbones and sculpted features? Well, look no further because we have the ultimate guide for you on how to master the art of contouring. With a few essential tips and tricks, you too can sculpt your face like a professional.
Contouring is a makeup technique that involves using a combination of dark and light shades to define and enhance your facial features. By strategically shading and highlighting certain areas of your face, you can create the illusion of a more structured and sculpted look.
1. Start with a Clean Canvas:
Before diving into contouring, it’s crucial to cleanse, moisturize, and prime your face. This will create a smooth base for your contour products and make them blend seamlessly into the skin. Remember, a flawless contour starts with a flawless base.
2. Choose the Right Products:
Contour kits vary based on your skin tone and preferences. Opt for a matte bronzer or contour powder that is two shades darker than your skin tone. For highlighting, go for a shade that is lighter than your natural skin tone. Cream or powder products both work well for contouring, so choose whichever you feel most comfortable working with.
3. Identify Your Face Shape:
Understanding your face shape is essential in contouring because it determines which areas you should sculpt and highlight. Common face shapes include oval, round, square, heart-shaped, and diamond-shaped. Each shape requires a slightly different contouring technique, so do some research on your specific face shape to achieve the best results.
4. Map Out Your Contour:
Before applying any products, take the time to map out your contour. This will ensure a more precise and even application. Use a contour stick or pencil to lightly mark the areas where you want to contour and highlight, such as the hollows of your cheeks, temples, jawline, and nose.
5. Blend, Blend, Blend:
Blending is the key to a natural-looking contour. Use a dense, fluffy brush or a damp makeup sponge to seamlessly blend the contour and highlight products into your skin. The goal is to avoid any harsh lines and create a soft, diffused effect.
6. Apply in Natural Light:
For the most accurate contour application, it’s best to work in natural light. Artificial lighting may distort the colors and make your contour appear too harsh or muddy. Find a well-lit area to ensure your contour looks flawless in any setting.
7. Less is More:
When it comes to contouring, remember that less is more. Aim for a subtle enhancement rather than drastic changes to your features. Build up the intensity gradually, and always start with a light hand. You can always add more product if needed, but it’s much harder to fix a heavy application.
8. Blend Downward:
When contouring your cheekbones or jawline, always blend the product downwards towards your neck. This will create a more elongated and lifted effect rather than dragging your features downwards.
9. Set Your Contour with Powder:
To ensure your contour lasts all day, set it with a translucent powder. This will prevent any creasing or fading throughout the day. Use a fluffy brush to apply a small amount of powder over the contoured areas, focusing on the areas that tend to get oily.
10. Practice Makes Perfect:
Like any skill, mastering the art of contouring takes practice. Don’t get discouraged if your first attempts don’t turn out perfectly. Keep experimenting and learning from your mistakes. With time and patience, you’ll become a contouring pro in no time.
Remember that makeup is all about self-expression and having fun, so don’t be afraid to experiment and adapt these techniques to suit your own unique style. Whether you’re going for a subtle everyday look or a glamorous evening look, mastering the art of contouring will elevate your makeup game to a whole new level.

